
While we experiment with new fabrication techniques in order to shorten supply chains (with a philosophy of collapse in mind), electronics is problematic. Components can be salvaged and reclaimed but a particular problem is printed circuit board manufacture.
Like many we have tended to outsource this work to China, where the costs allow us to do short-run prototyping with our tiny budgets. Are these lower costs simply due to scale and the Communist support of the Maker community there? Or more worryingly, is this due to reduced regulations in the areas of employment rights and environmental protection?
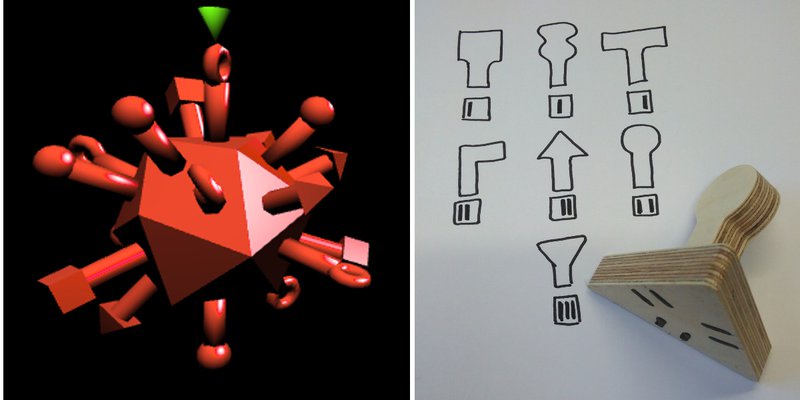
Viruscraft online game virus interface, and some initial physical receptor designs
Either way, outsourcing this kind of fabrication sometimes doesn't make sense. For Viruscraft we need a finer understanding of the materials involved to design our tangible virus interface. We need to detect the 'shapes' of receptors attached to a physical virus capsid, and the first approach we want to try is using voltage detection of the kind used in things like the Makey Makey. If we give each virus receptor three bits of information we can represent seven different receptor shapes, which is plenty for our needs. We need some kind of connection point that can read this information - a printed circuit board with exposed conductive 'touch pads' embedded in the virus capsid seems a good way to proceed.
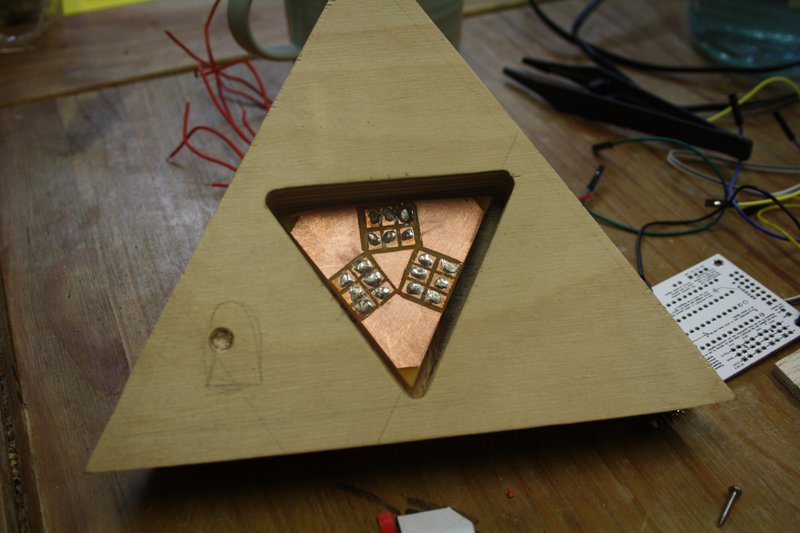
The end point: a finished prototype capsid section with connection point for a receptor
This is also a chance to experiment with PCB manufacture, which is pretty messy and involves very nasty chemicals. In 'doing it ourselves', the theory is we can learn ways to minimise environmental degradation which could impact our designs in future, even if we end up having to outsource their manufacture.
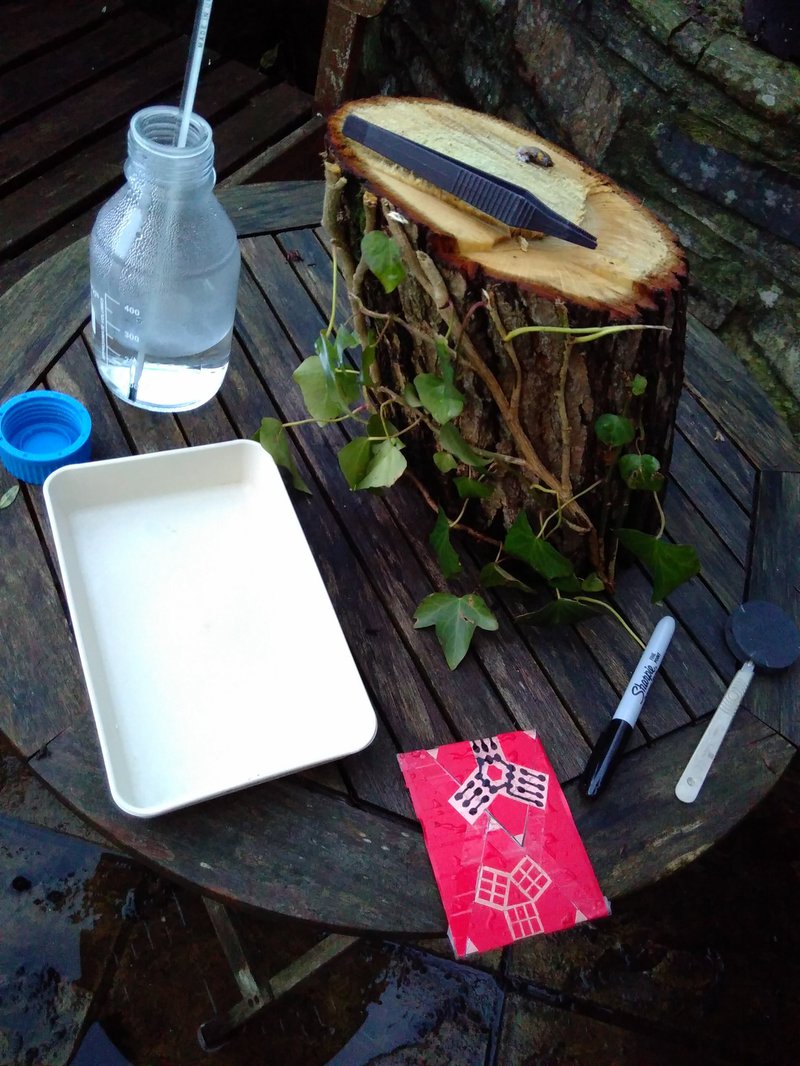
The general concept is that copper clad boards are etched with acid in patterns that control the flow of electricity when components are soldered to them. We will be using some (quite old) sodium persulfate crystals here, added to water to form an acid bath for the board, which will be immersed until the exposed areas of copper are dissolved. We wanted to try two approaches to creating a 'resist' that would prevent the etching, one using insulation tape (actually horse leg bandage tape - well, we are based in a rural setting!) - the other simply using permanent marker to draw the circuit.
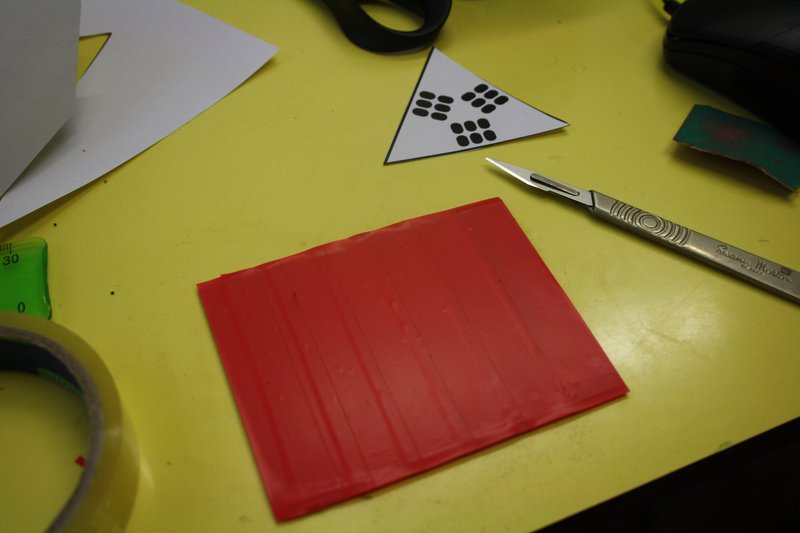
First we design a outline and print it out at the correct scale, you can see this in the background in the photo below. As we are using triangular plugs/sockets, we need to be able to 'read' the receptor in any orientation, so 18 pads are needed in total.
Then we completely cover a copper clad board in insulation tape. One of the big lessons from this process is that etching large areas uses up more acid and takes longer - so you only want to expose the absolute minimum.
Board completely covered in insulation tape
We stuck the template to the board and used it to guide cuts that go all the way through the tape to expose the copper.
Cutting the insulation tape
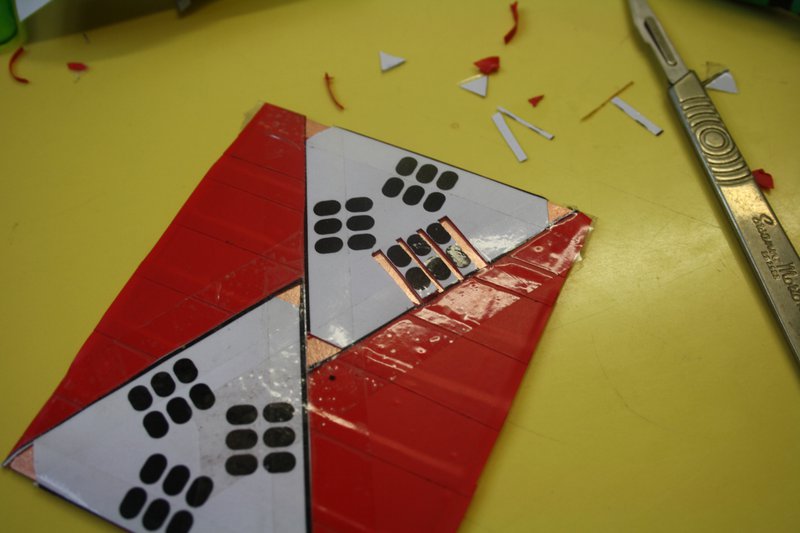
We are trying two different methods and designs here - one using just the tape cut-out where we create 18 separated islands which we can drill though and solder to create raised touchpads, and another drawing a more complex circuit with a sharpie felt tip pen. The second approach provides a flat connection area, as no soldering is needed on the touch pads themselves - but we can still solder connections on the edges of the board (this becomes a bit clearer later).
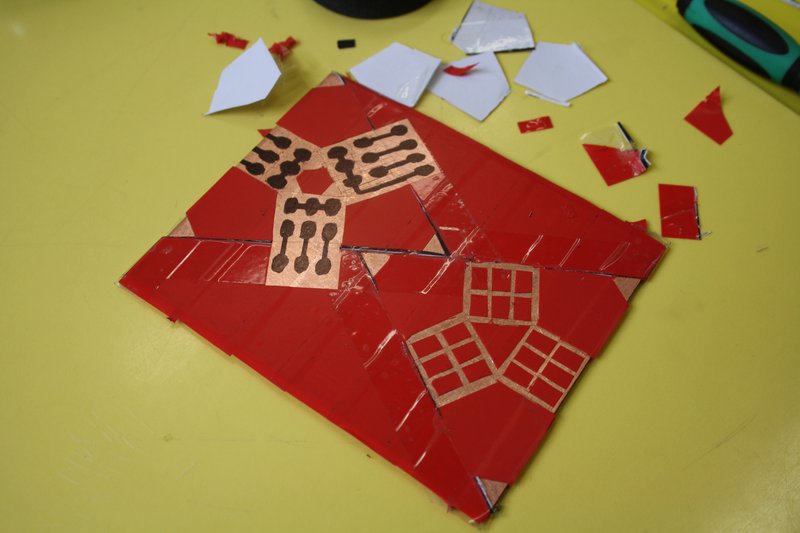
Two approaches - tape and marker pen
Here we have dissolved the sodium persulfate crystals to create the acid bath - note we are doing this outside, as the process creates fumes you don't really want to be breathing. We started the temperature at 50 degrees - you are supposed to maintain this but we didn't have a way to do that. The etching took about an hour and a half, it would probably be more like 10 minutes at the proper temperature, but it doesn't seem to matter if you are not in a hurry.
Etchant, bath and board ready for exposure
Afterwards we store the acid as it can be used again, the blueness indicates the amount of dissolved copper - when this gets too dark it stops working, then you can neutralise the acid by adding bicarbonate of soda and take it to the tip for safe disposal. Obviously the labelling is important - not just the fact it's toxic but the date it was made, for future use - it should last a few months.
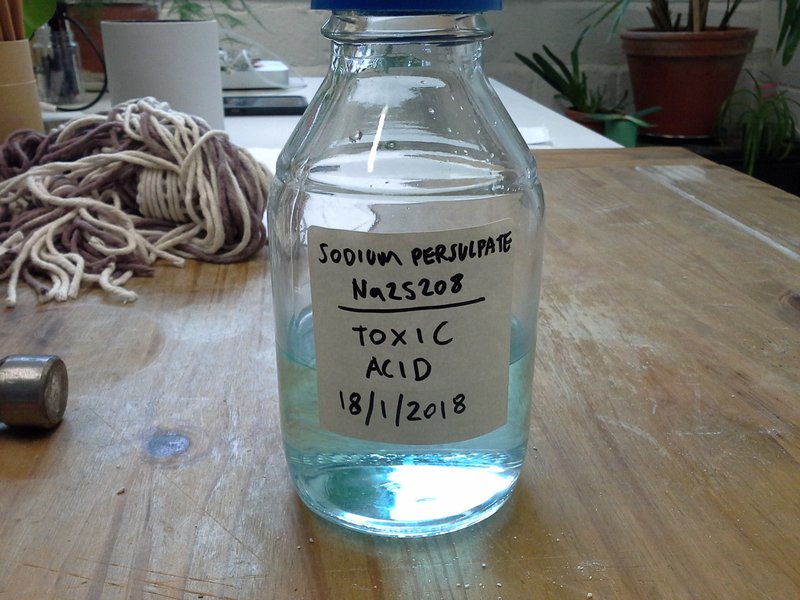
Safely labelled etchant after use
Here is the etched board after washing well in water and drying - no copper visible!
The etched board, after washing.
The next step is to remove all the resist - both the tape (and the glue that comes with it), and the marker pen. That requires a bit of alcohol and elbow grease.
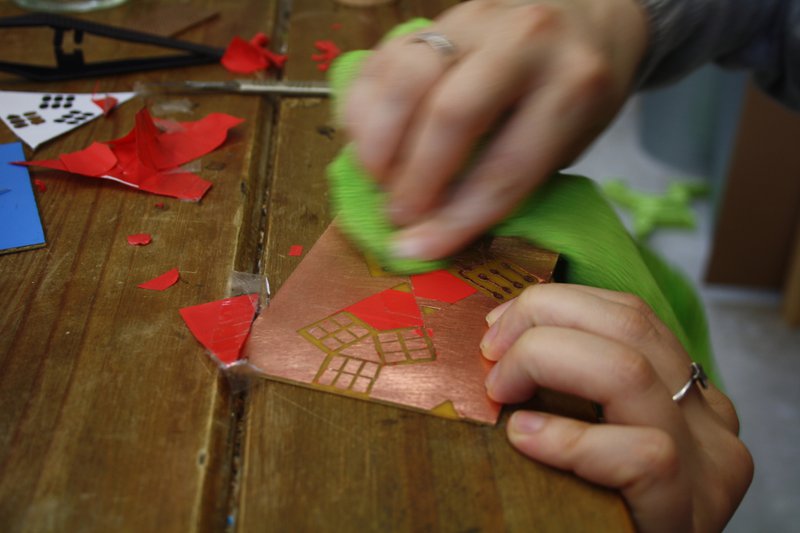
Amber cleaning up the etched PCB
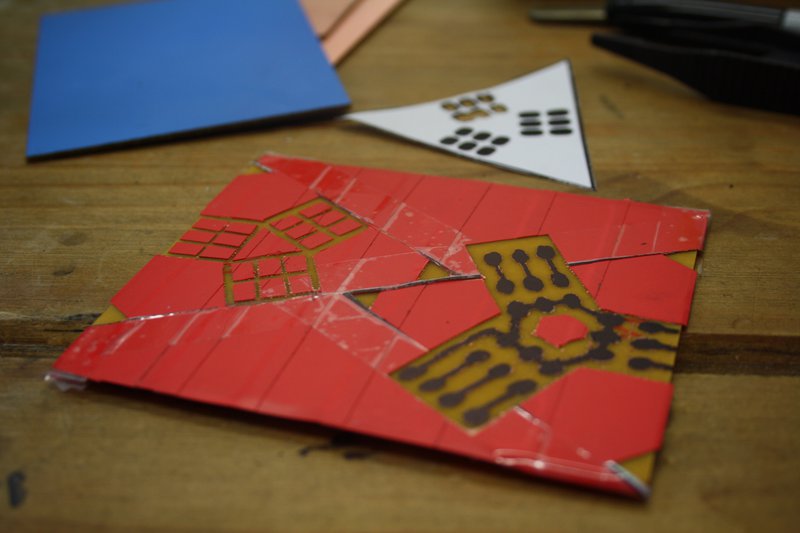
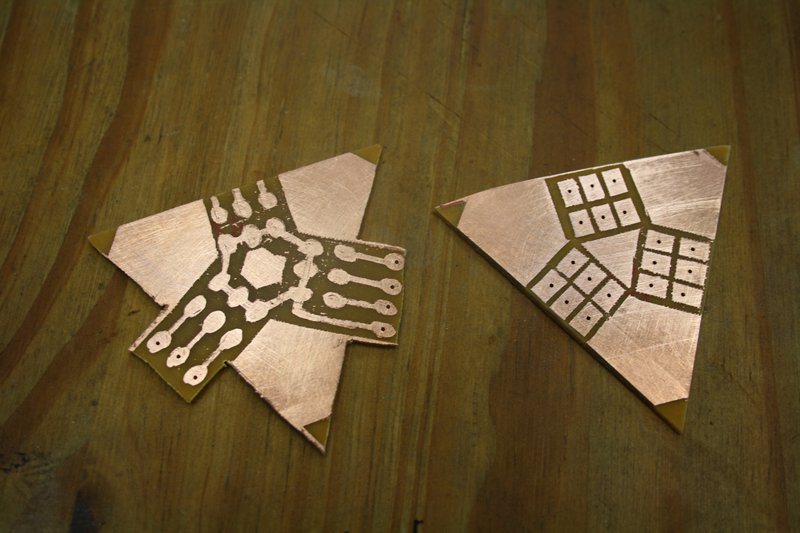
Here we can see the copper and mostly nice clean tracks - there was one place which required some work with a scalpel to break a remaining connection, but we didn't expect it to be this good for our first attempt!

Cleaned up boards.
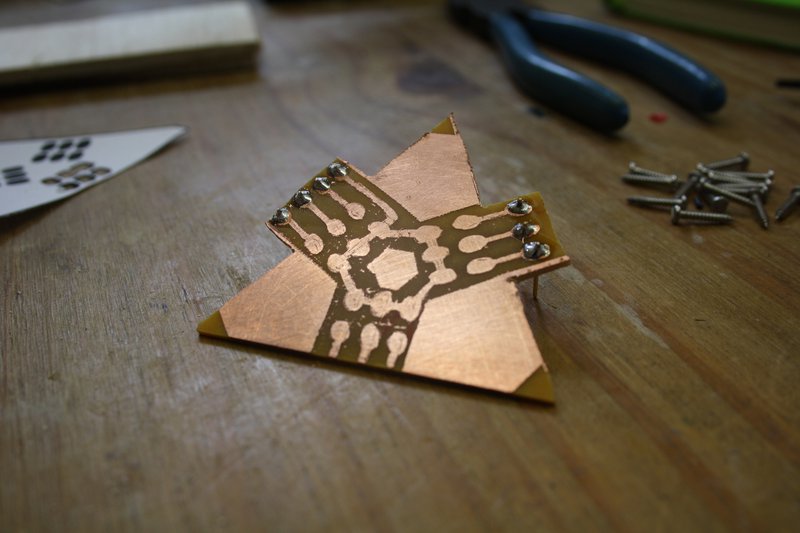
Now the PCBs can be separated...
PCBs after cutting out
And soldered...
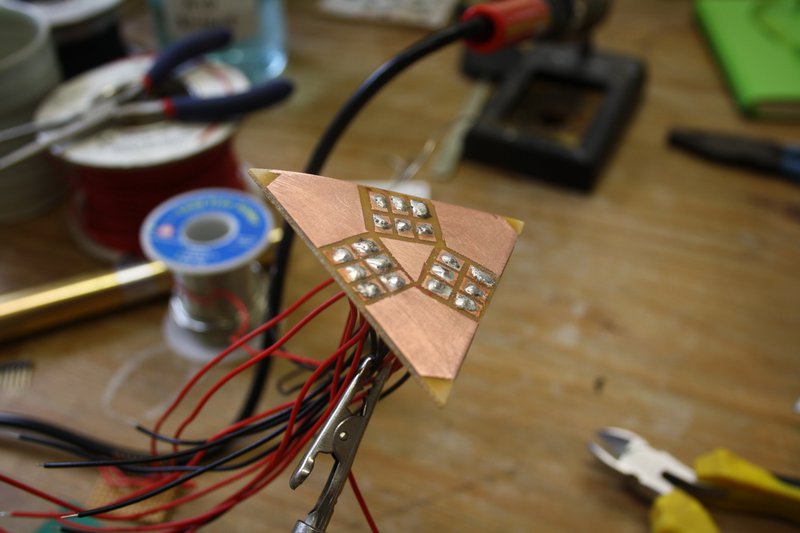
And finally - tested on a Raspberry Pi, using the GPIO pins for now to read the receptor type directly. On this PCB we have two of the three sets of connectors working - so six values in total. This redundancy means that the more that match, the more confident we can be that we have the correct reading.
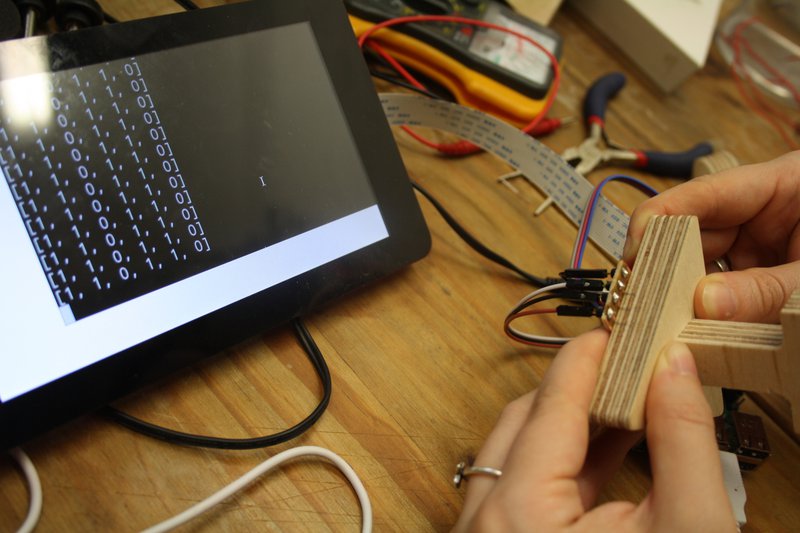
Testing the connections on a Raspberry Pi
Things to try next are some tweaks to the Pi so it can read the receptor more sensitively as currently it needs nearly the full 3.3V to register on the digital pins. The Makey Makey seem to do this by using large pull up resistors to detect the presence of tiny voltages and filtering the noisy signal this creates in software.
It's not clear at this point if we will be making the final connectors in this way, but it would be nice if we can (and get a bit better at it) - at least we are now able to quickly iterate their design ourselves.
Other options to be looked into include using a small CNC mill to drill out PCB tracks, and more exotically - the use of micro-organisms to eat copper.